A Poster Tube, a Desk Lamp, and the January 2001 Campaign
Start with a collector’s workroom: a dusty cardboard tube, a glossy Save the Last Dance one-sheet, and a warm desk lamp angled across the table. As the paper relaxes, brass weights hold protective interleaving over its corners. Turn the supported sheet and examine the reverse before returning to the seller’s description. That sequence puts the object ahead of the sales pitch.
The dust supplies atmosphere. A legible postal mark or dated enclosure supplies a shipping date.
The film opened theatrically in the United States on January 12, 2001. That date gives a collection its organizing point: the cinema campaign, the publicity that introduced the cast and choreography, and the soundtrack material fans encountered around the release. Publications from December 2000 through March 2001 offer a useful window for advance promotion, opening coverage, and subsequent advertisements.
Online listings can place theatrical material beside retail reprints and unmarked digital reproductions. Keep four selection criteria separate:
- Distribution provenance: exhibitor paperwork, shipping records, and the seller’s retained account of ownership.
- Physical construction: trimmed dimensions, paper stock, printing, and any reversed artwork.
- Campaign relevance: dated credits, publication details, and connections to the theatrical or soundtrack campaign.
- Paper condition: tears, adhesive residue, discoloration, and suitability for supported storage.
These construction checks cannot independently authenticate a campaign artifact, so pair them with distribution records and a documented comparison. Before buying, request photographs of the entire front and reverse, every corner, the bottom credit block, and accompanying paperwork.
Five Objects That Carried Save the Last Dance Into Public View
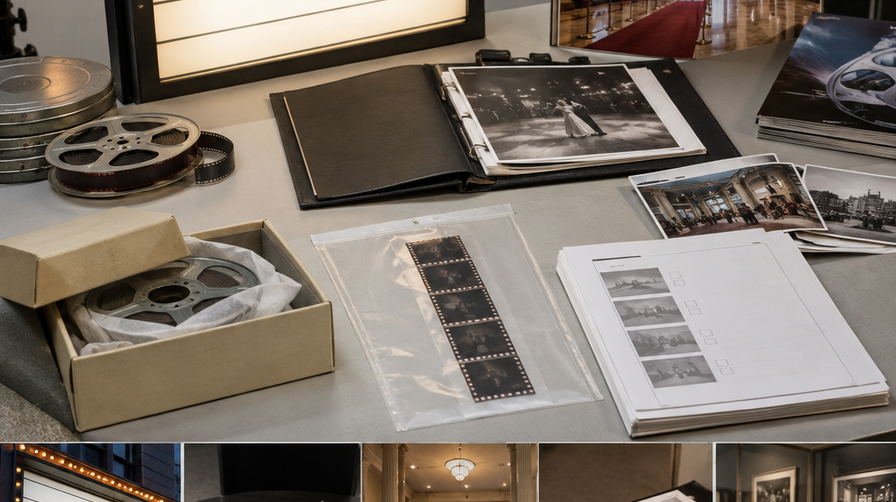
Follow the campaign through its original destinations: the cinema light box, the critic’s folder, the international foyer, the trade-publication page, and the record-store counter. Each object preserves a different encounter with the film.
-
The Light-Box One-Sheet: Measuring the 27 × 40-Inch Format
The double-sided theatrical one-sheet suits the cinema light box: its reverse carries a laterally reversed version of the front artwork for illuminated display. For the Paramount Pictures release, compare both artwork and bottom credits with a documented campaign example.
Measure the entire trimmed sheet in both directions. The nominal theatrical format is 27 × 40 inches; a common retail format is 24 × 36 inches. Record the actual measurement, including edge losses. Then examine the reverse print separately from any shipping or exhibitor paperwork, keeping construction evidence and origin evidence distinct.
-
The Critic’s Folder: Stills, Cast Information, and Choreography Notes
A press folder brings the campaign closer to the film’s making. Inventory its pockets and contents individually: production notes, cast information, choreography discussion, captions, and photographs. Preserve their existing order so those relationships remain available to the next reader.
For an 8 × 10-inch publicity still, photograph the reverse as carefully as the image. Studio codes, stamps, caption slips, and handwritten filing references belong in the record. Use “gelatin silver” only when photographic construction or reliable documentation supports that identification; otherwise, describe the visible object as a glossy monochrome publicity photograph.
-
International Lobby Cards: Scene Selection Across Territories
Lobby cards place individual scenes into the theater foyer. Record each card’s language, distributor credit, dimensions, scene, and printed sequence number. Within one territorial set, compare typography, stock, and trimming for consistency.
An 8×–10× loupe helps examine lettering and image edges. Offset lithography uses halftone dots, so assess the coherence of the printing rather than treating visible dots as a verdict. Keeping cards together preserves the campaign’s sequence of selected moments.
-
Trade Advertisements: Keeping Opening Week on Its Own Timeline
A trade-publication page carries its own dating apparatus. Retain the publication title, issue date, page number, adjacent editorial material, dated margin, and binding edge. Prioritize January 2001 issues for release coverage, then examine February and March for later campaign claims.
Separate advertising language from reported grosses, chart positions, and certification records. An opening-week advertisement belongs to the film’s launch; later multi-platinum soundtrack claims belong to their own documented dates. That distinction keeps the collection’s account of cultural impact chronologically sound.
-
Soundtrack Flats: The Campaign at the Record-Store Counter
The soundtrack’s retail material extends the collection beyond the theater. A nominal 12 × 12-inch promotional flat offers a compact display format. Check both sides for printing and catalog references; record scored folds, die-cut tabs, or easel construction on freestanding counter displays.
Keep flats and constructed displays cataloged separately. Record edge or window-shaped fading as condition evidence. For me, these objects make a particularly useful companion to the poster: they connect the film’s movement vocabulary with the music listeners could carry home.
From Mailing Tube to Flat File: Housing One Double-Sided Poster
Work through a rolled 27 × 40-inch Save the Last Dance one-sheet arriving in a mailing tube. The practical challenge is its curl—give the sheet support and time while documenting the evidence.
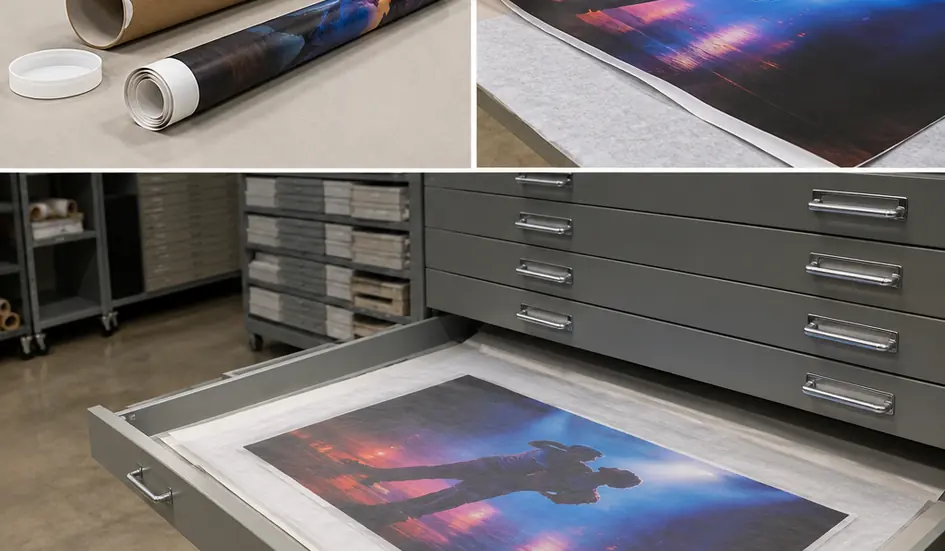
Document the arrival. Photograph the tube, label, closures, and enclosures. Open it without cutting toward the paper. Keep the seller’s provenance statement with the purchase record.
Support the unrolling sheet. Clear a clean, flat surface at least 36 × 48 inches. Support the roll as it opens, then place soft archival weights over clean interleaving at relaxed corners. Check after close to 30 minutes and again after approximately 60 minutes, continuing supported relaxation wherever the curl resists.
Measure and inspect. Place a steel ruler beside the paper, keeping it off the glossy image. Record width, height, and edge losses. Examine the laterally reversed artwork directly; use raking light to reveal surface ripples, creases, and other changes in topography.
Build the identification record. Photograph the front, reverse, corners, and credit block. Compare artwork and credits with a documented campaign example, then connect those observations to the retained distribution paperwork. Enter condition separately from the identification.
Prepare the enclosure. Select uncoated conservation-grade polyester and acid-free, lignin-free buffered backing board. A 28 × 41-inch sleeve offers nominal clearance for this poster; check its usable internal dimensions and opening before insertion. Retain the supplier’s material description.
House the poster. Support the sheet as it enters the sleeve, lay it over the backing board, and place the assembly flat in the drawer. Follow the Library of Congress preservation guidelines for works on paper for low light exposure and a cool, relatively dry, stable environment. File the photographs, measurements, paperwork, and enclosure details under the same collection record, then close the drawer with the poster fully supported.